
Using a custom login style on a Synology DiskStation
This article is aimed towards people who want to customize the login screen of their Synology Disk Station beyond the possibilities the settings UI offers. This does however require some basic knowledge of the underlying technology of both, the system and the web overview. It also requires logging in to your disk station via terminal, which, while is possible with only basic knowledge, is always a certain risk. Please be careful, when tinkering around on your device!
The scripts and examples in this article are used to manipulate the CSS and Favicon of your Disk Station’s login screen. With the information given, it is technically possible to perform additional changes, such as completely altering the login screen’s HTML, though I would not recommend doing this.

An example of a completely customized login screen
Finding the files
In order to perform any changes on our login screen, we first need to find the files we want to edit. The Synology Web Manager files are located under /usr/syno/synoman/webman/.
The following paths are the absolute file paths on your disk station. To access them, you need to connect to your Disk Station via Terminal using either SSH or Telnet. The Disk Station’s root user’s password, is the password you have set for the admin account on your Disk Station.
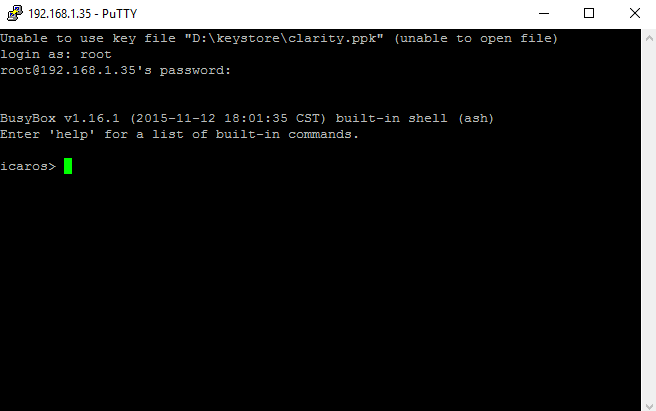
Connecting to the Disk Station via SSH
Main style file
/usr/syno/synoman/webman/resources/css/desktop.css
Favicon files
/usr/syno/synoman/webman/resources/images/icon_dsm_96.png/usr/syno/synoman/webman/resources/images/icon_dsm_64.png/usr/syno/synoman/webman/resources/images/icon_dsm_48.png/usr/syno/synoman/webman/resources/images/icon_dsm_32.png/usr/syno/synoman/webman/resources/images/icon_dsm_16.png/usr/syno/synoman/webman/favicon.ico
A word on system updates
While simply making all changes directly in the webman directory is certainly possible, there is a chance, that these changes will be automatically overwritten by a DSM update at some point in time. In order to not lose all the custom changes whenever Synology updates (or overwrites) these files, we are going to store the actual style files in one of our shared folders and write a small script to copy those files to the webman directory.
This way, we have our files secured at a location that a Synology update will not touch and can just copy them back into the system if an update would overwrite our changes.
We can simply copy over the favicon and style files but we will have to append the css to the current page style instead of simply overwriting it. For loading the additional style definitions, the file can either be requested by the login screen via a separate http request, or simply being imported in the existing style definition, which will tell the browser to load our additional file as well.
Organizing our files
Finally, on to the actual work. As mentioned before, we are going to store all changes in a shared folder, in this example the web folder. The web folder is only present when the web server package has been installed on the disk station. Any other shared folder can be used for this as well though.
Assuming our login screen customizations are stored in web/_diskstation, we are going to create the following file structure
| |
All custom CSS definitions can now be put into the loginstyle.css file in the customstyle folder, which can also be used to store additional files such as font files or custom images, and all custom favicon files can simply be stored in the customicons folder.
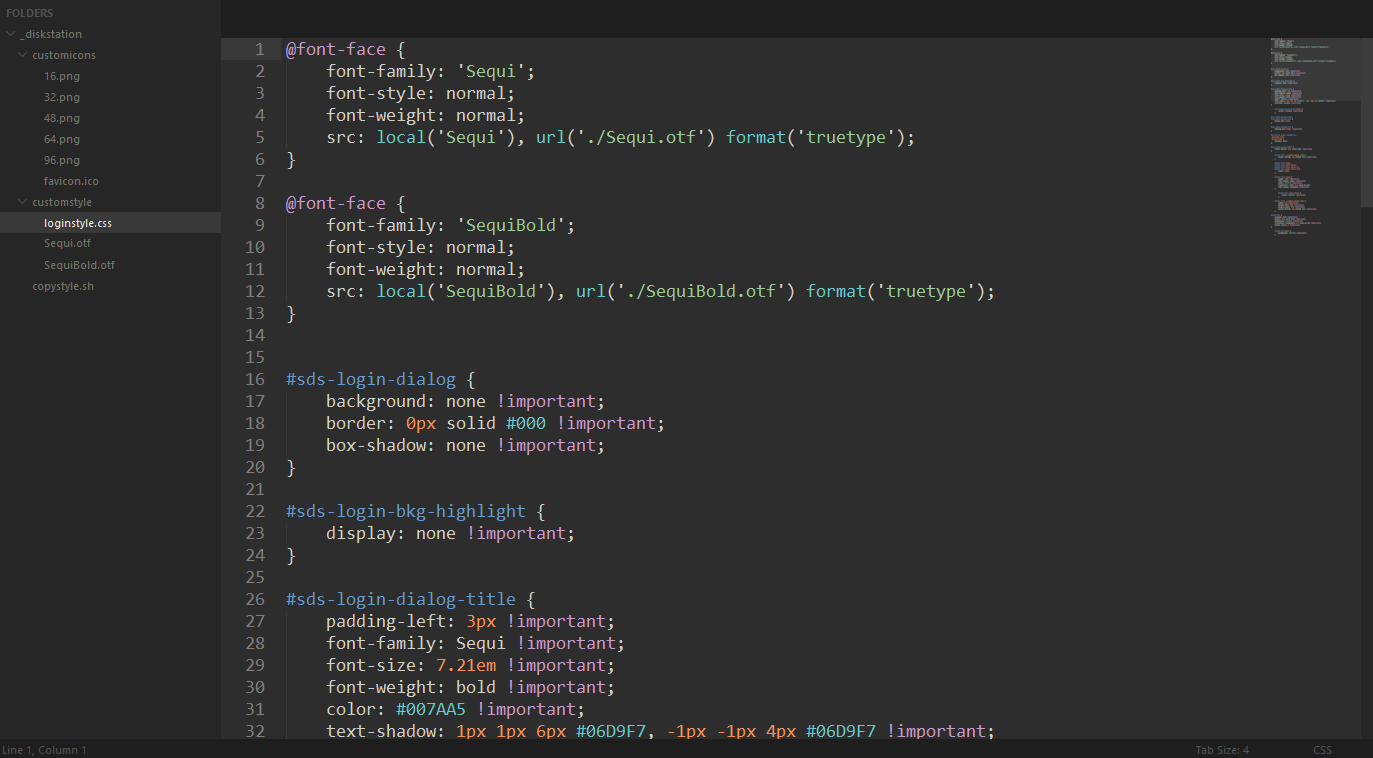
File structure of the customizations for our example login screen
Applying changes
To import our custom style to the existing login screen style, we are going to add an import directive to the existing stylesheet. This has to be done only once, even if you change your customizations later on. The only time you would have to run this command again, is when a Synology update would overwrite all your changes.
| |
copystyle.sh is a small shell script we can use to automatically copy all of our files from our shared folder to the system. While this can also be done manually, automating it with a script makes it easier to quickly push changes or copy files after a system update. If you use the file structure mentioned above, you can simply copy this script and run it via sh /volume1/mysharedfolder/copyfiles,sh from the command line to copy all changes from the shared folder to the system.
| |
Upon performing any additional changes on the customization files in the shared folder, you can simply run copyfiles.sh again and it will copy all your changes to the system again.